INSTRUMENTS > FAQ > SAVING AND LOADING CONDITION SETTINGS
SAVING AND LOADING CONDITION SETTINGS
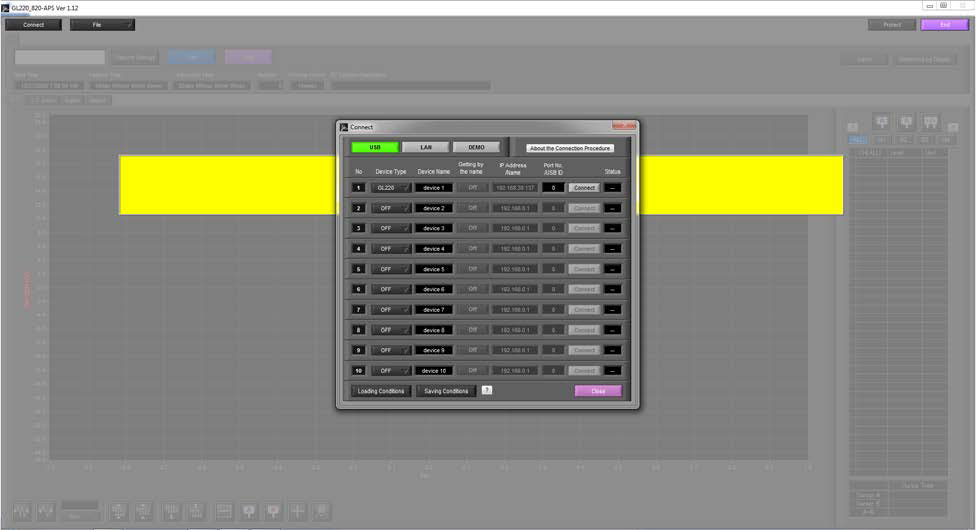
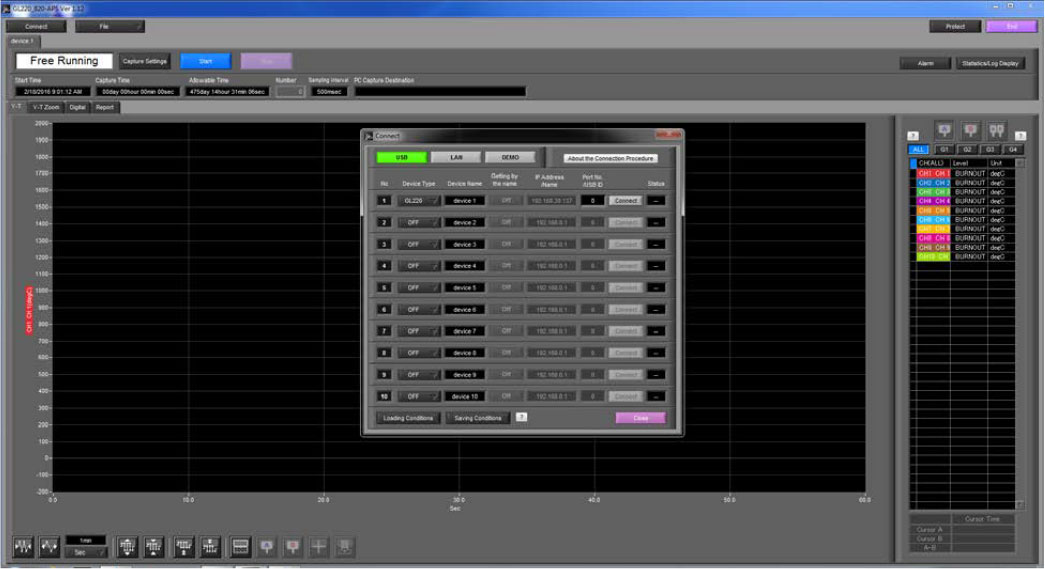
Step 1: First you must connect your GL to the APS software. Make sure that USB ID on both the software and GL match up. Once connect the connect button will turn green and you can close out of the connect menu.
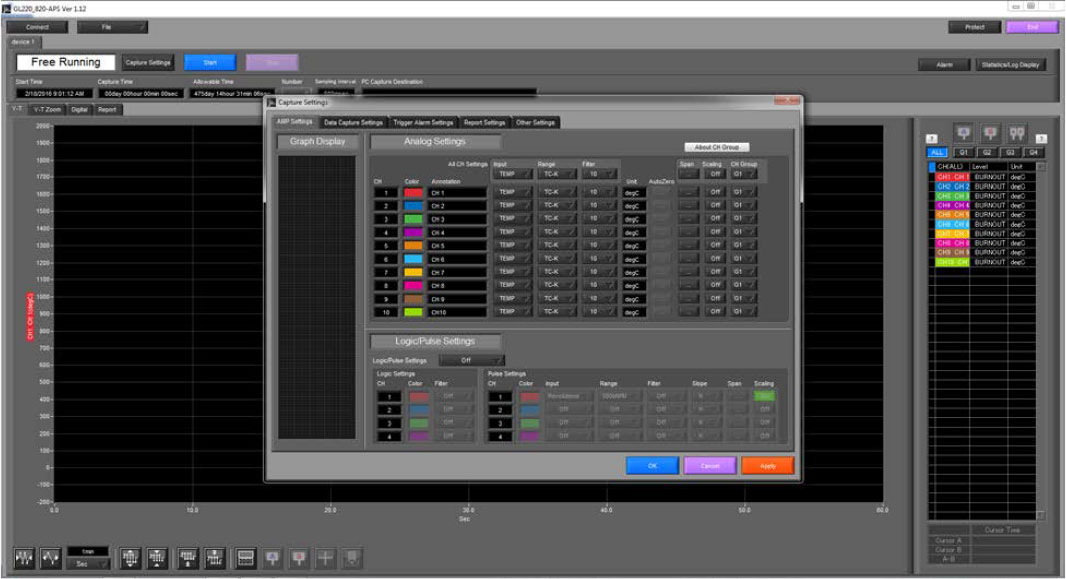
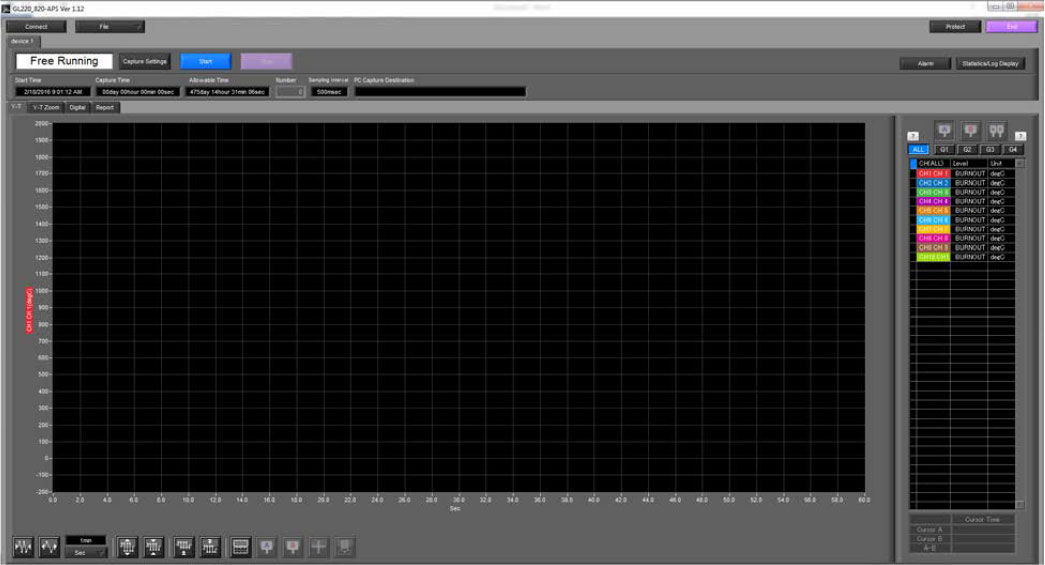
Step 2: Once you close out of the connect window, you will see a screen similar to the one above. Set the conditions you want by selecting the capture settings button highlighted in Red.
Step 3: When the Capture settings window pops up, you can set the conditions to whatever is needed. Once this is done, hit the APPLY button, then hit OK both are located at the bottom right of the Capture settings screen.
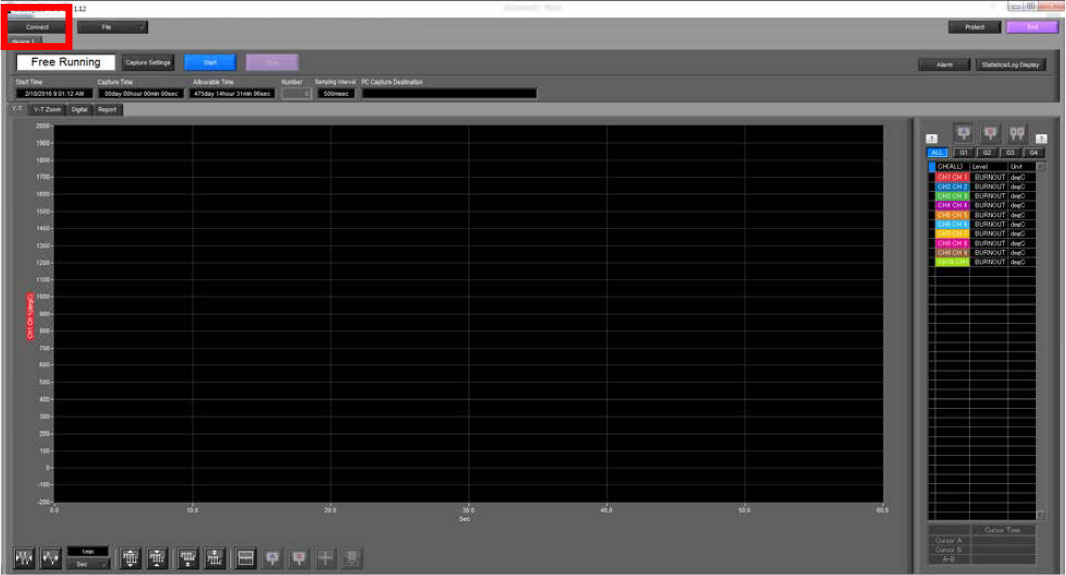
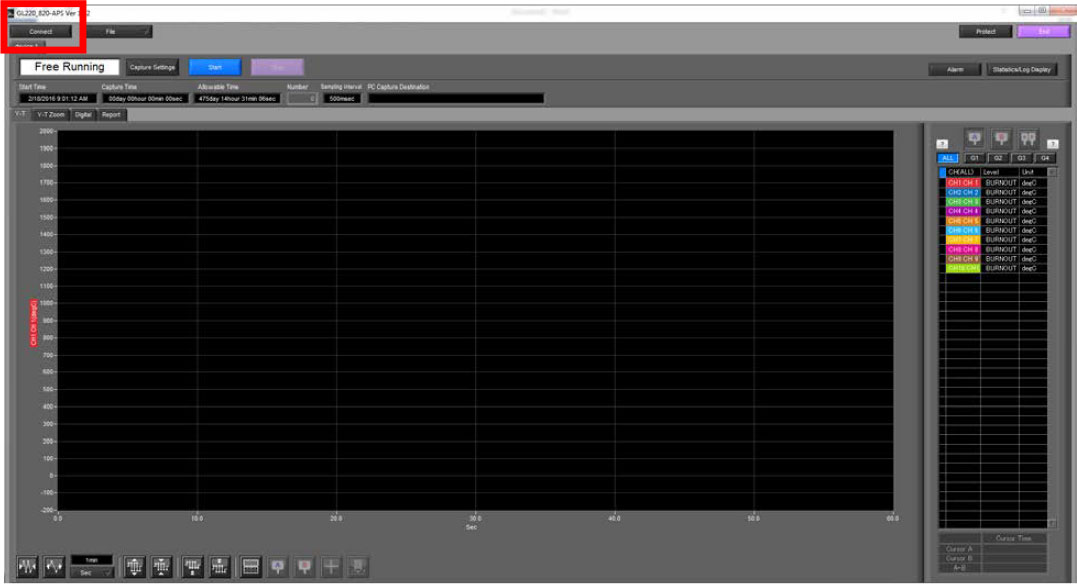
Step 4: Now that you have you conditions set to what you want to save, hit the Connect button highlighted in Red.
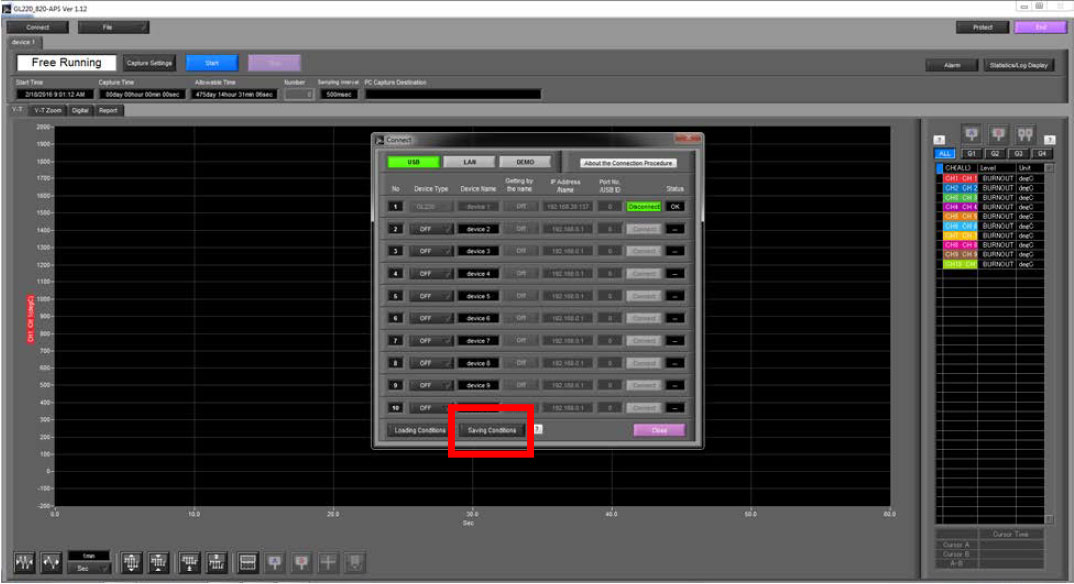
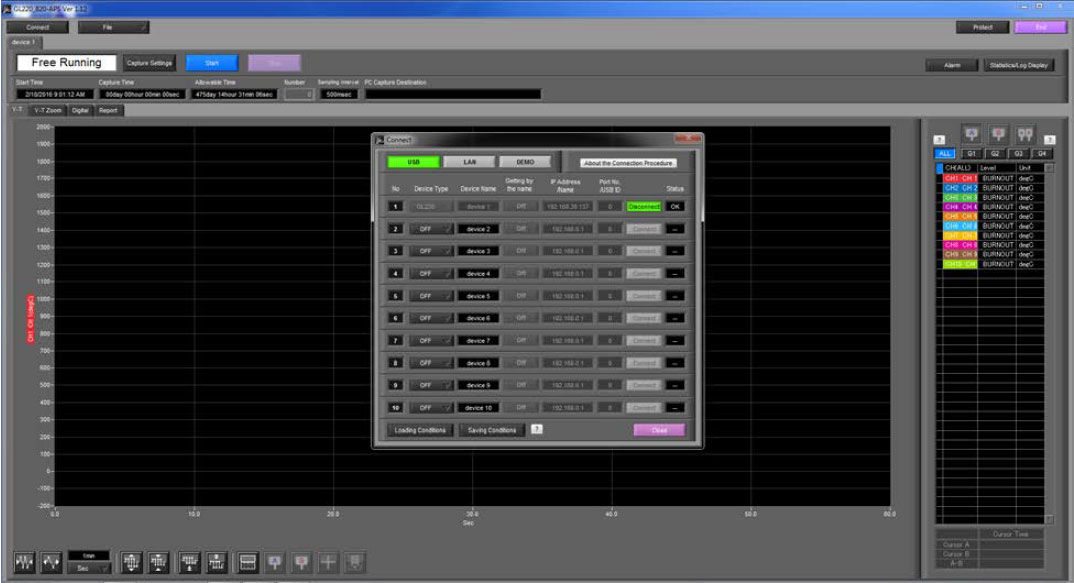
Step 5: When the connect menu pops up, hit the Saving Conditions Button highlighted in red.
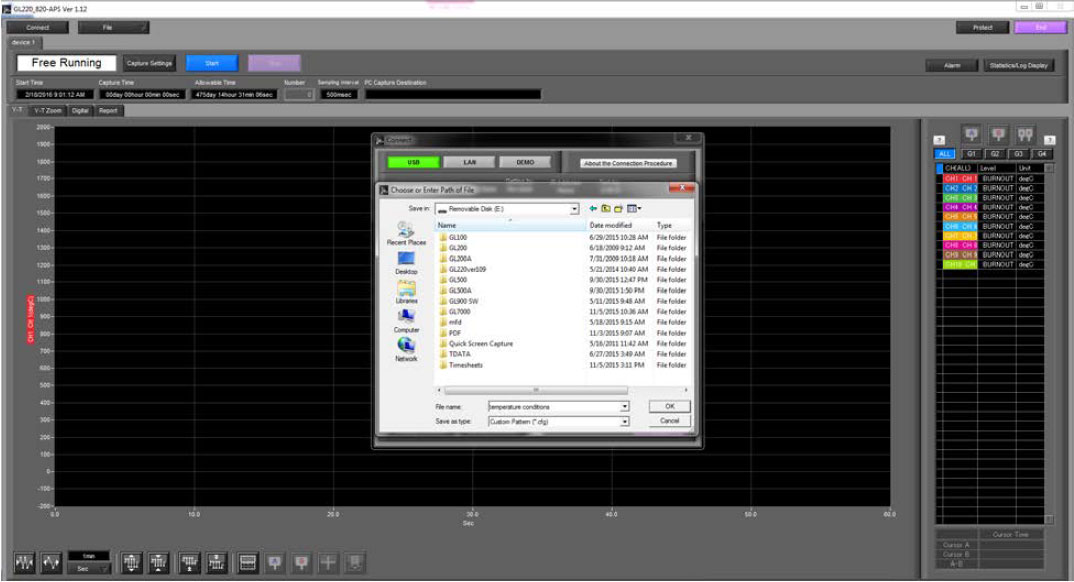
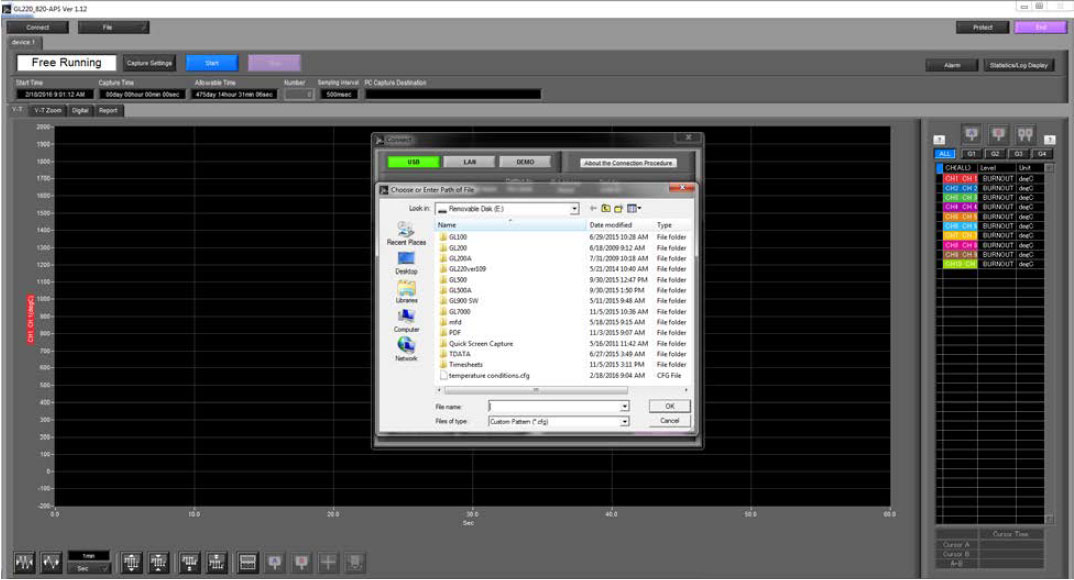
Step 6: After selecting the Saving Conditions button, a save screen will pop up. From here you can save it either in the computer or on an external drive by selecting the location. Once location is selected, choose a name for the file and click OK.
Step 7: Once you have saved the file, you will be redirected to the connect screen. From here you can close the MENU.
Step 8: Your condiotns are now saved and you can access them from any GL or APS software. To do so, from this main screen of the APS, click the connect button highlighted in red.
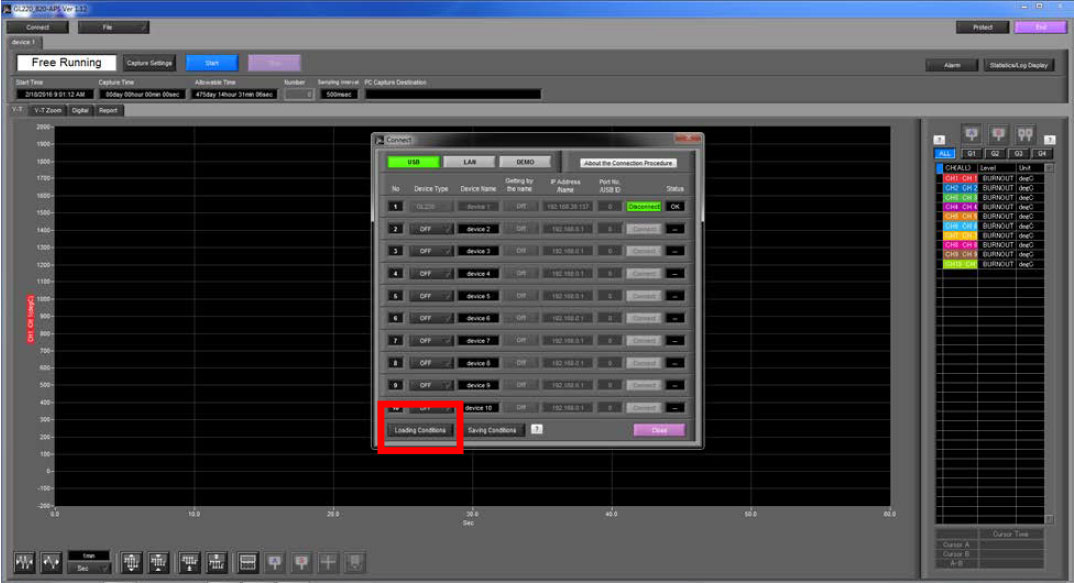
Step 9: On the connect MENU, hit the Loading Conditions Button highlighted in Red.
Step 10: You will ne directed to your Computers folder menu and from here you can locate where you saved yur conditons and load them.
Step 11: Once you have selected your file to load your conditions, you will be re directed back to the connect screen. From here you can close the connect screen.
Step 12: Your conditions are now loaded and you are ready to start recording.
INSTRUMENTS > FAQ > SAVING AND LOADING CONDITION SETTINGS

